
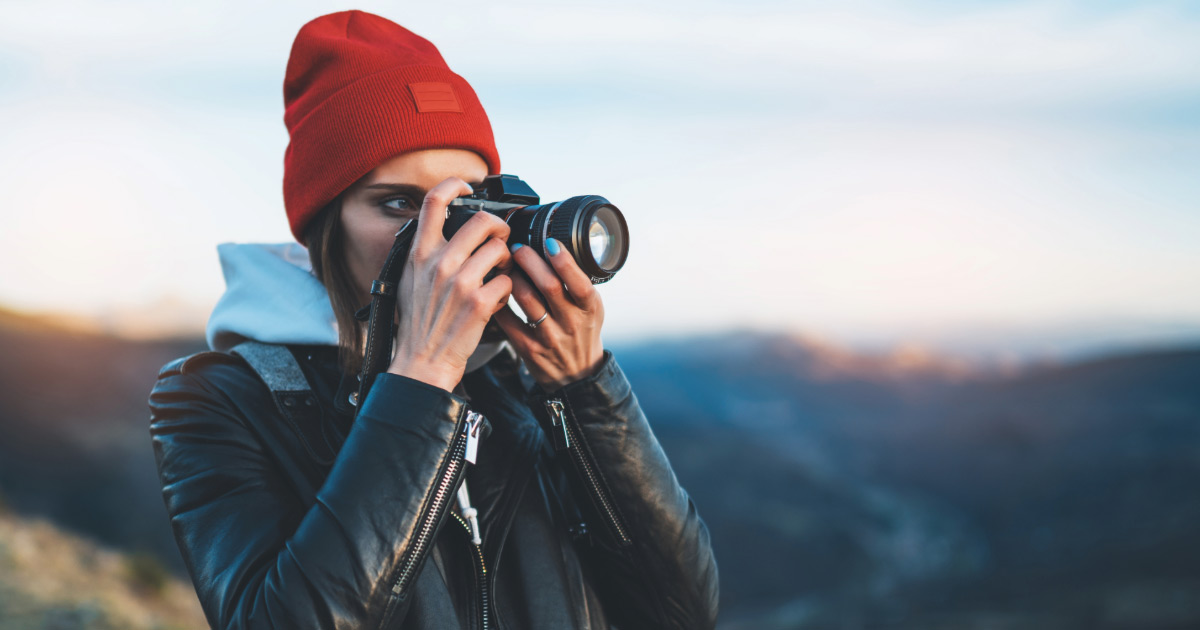
Planning a tour of Lower Antelope Canyon and looking forward to taking some breathtaking pictures? Fortunately, visitors don’t have to invest in a high-end camera or any expensive gear in order to get amazing shots.
Whether you have a newer smartphone, a point-and-shoot, or a DSLR, the following tips will help your photographs look like a pro took them.
Below, we look into how light affects pictures, different types of photo composition, and tips for both smartphone and DSLR users. We’ll also share some advice for editing your photos and how to get the most out of your tour.
Understand the Light in Lower Antelope Canyon
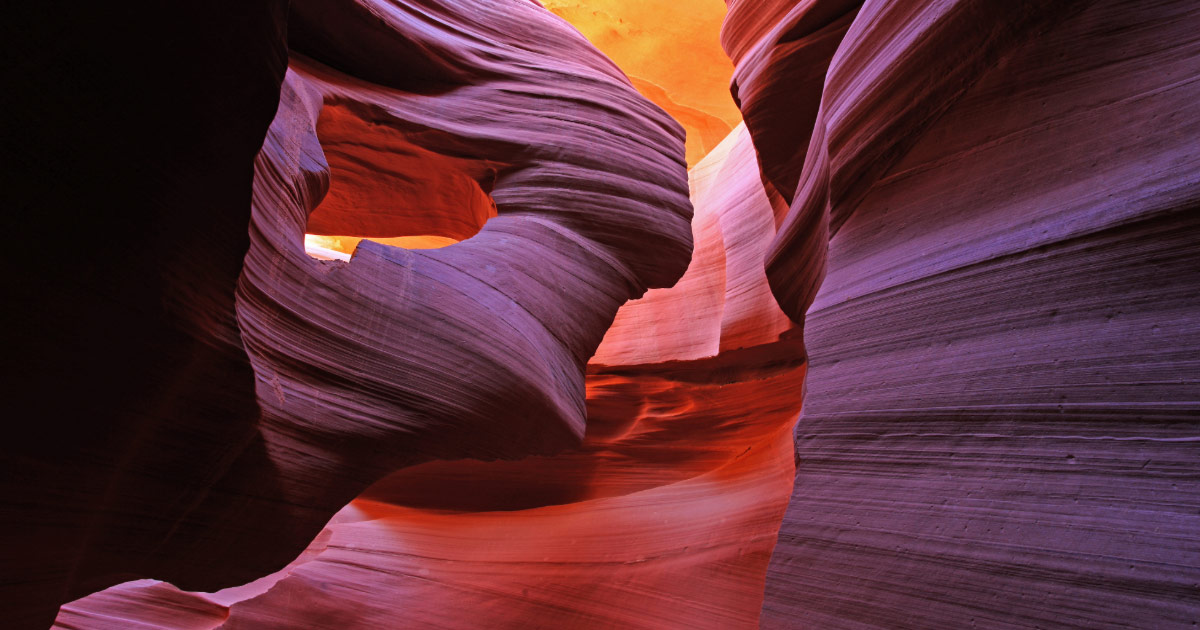
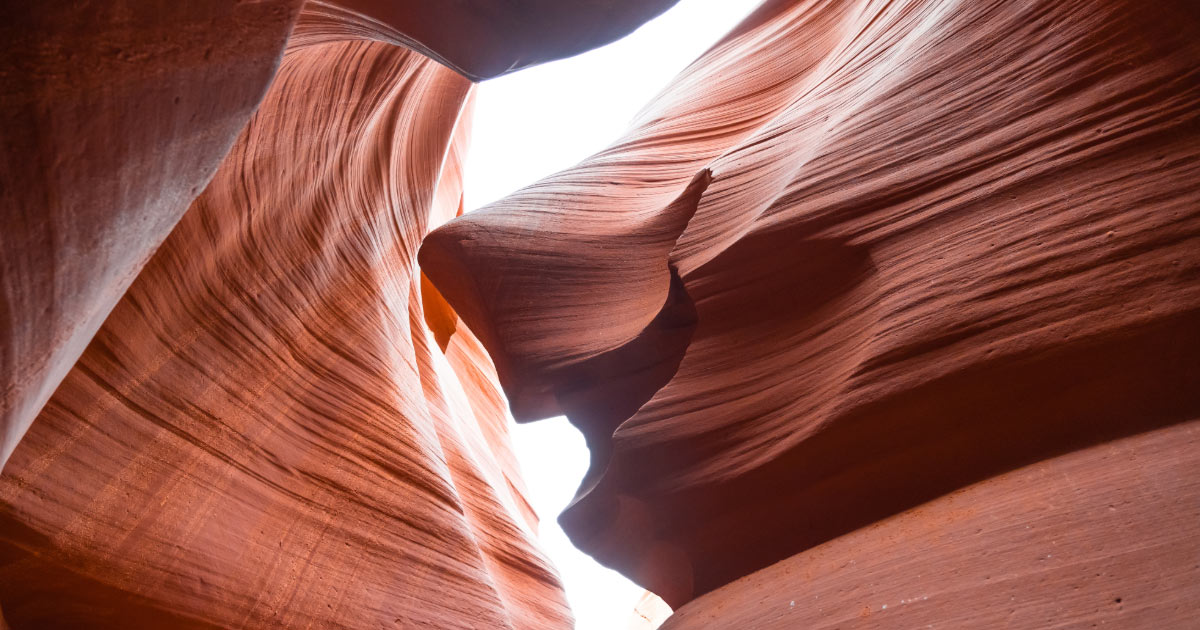
Both Lower and Upper Antelope Canyons are world-famous for their stunning sandstone sculptures and vibrant colors. Lower Antelope Canyon, in particular, has narrow shafts that, if photographed at the right time of day, offer beautiful shifting hues.
Which brings us to our first tip: take photos at the best time of day. This is usually mid-morning to early afternoon; however, seasons and the sun’s angles do shift throughout the year. Generally, you want to see the sun peek its way over the canyon walls.
Our second lighting tip is to go with natural light over the camera’s flash. The flash often washes out the natural colors of the stone walls. Not to mention, it’s disruptive to other visitors.
4 Photo Composition Tips for Every Skill Level
Here are a few smart compositional strategies to keep in mind.
#1 Leading Lines & Curves
The sandstone walls have natural, flowing lines to them. Try to line your photo up to emphasize these lines, which will draw viewers’ eyes deeper into the picture.
#2 Explore Unusual Angles
While on your tour, you’ll see how light reflects differently depending on the angle you look at the sandstone. Look for unique perspectives that the average person may not see unless they’re at the same angle.
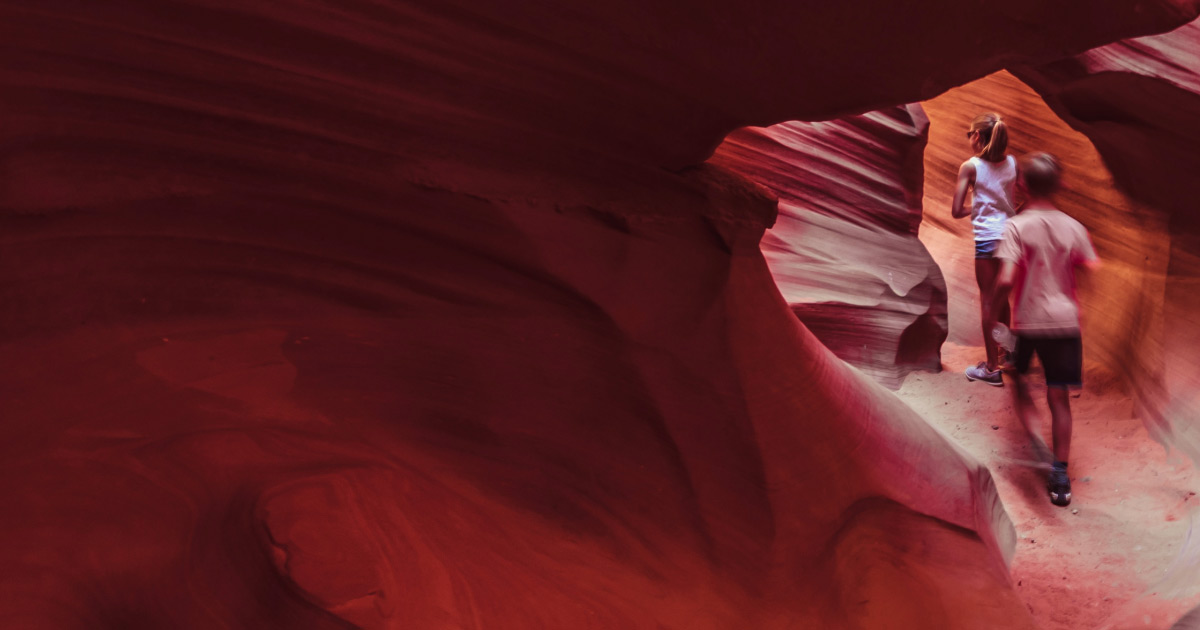
#3 Framing
Openings, shadows, the ground, and other features of the canyon can create interest in your photographs.
#4 Rule of Thirds vs. Breaking Rules
The rule of thirds suggests not centering your focal point, offsetting it instead. However, we recommend trying both methods and choosing the best-framed pictures at a later date.
5 Smartphone Photography Tips
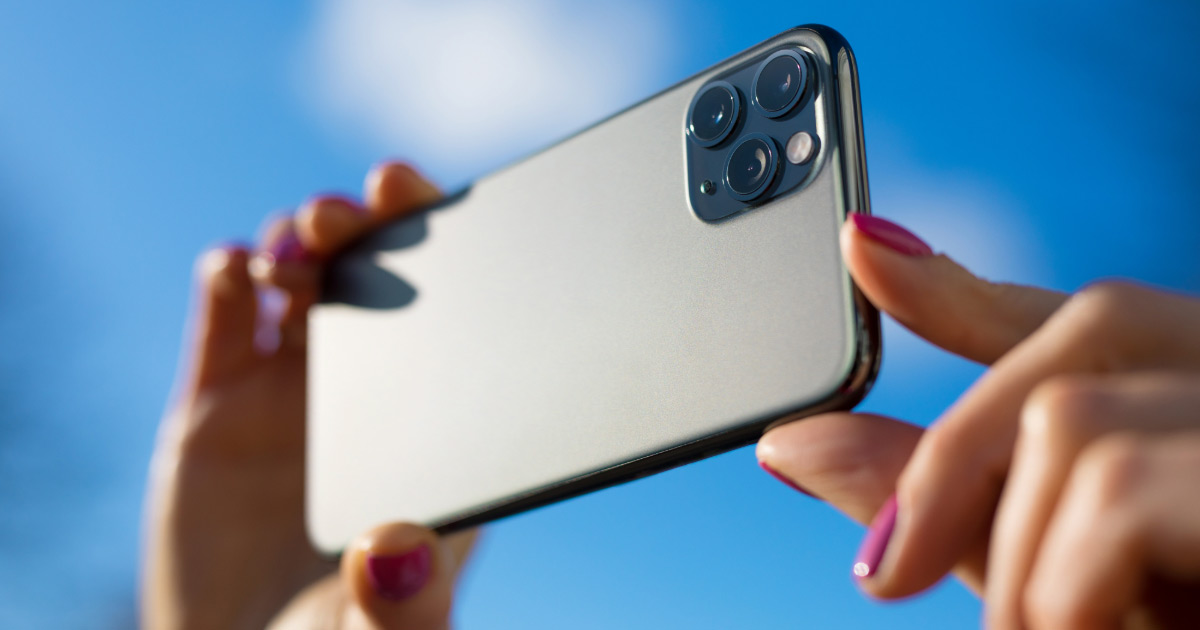
Smartphones have incredible cameras that are capable of taking professional-looking photos with ease. Don’t feel as though you need to invest in an expensive camera in order to take great photos of the canyon.
Here are our tips for taking photos of Lower Antelope Canyon with your smartphone:
- Turn on gridlines to help with alignment and keeping photos straight.
- Use the focus lock option to lock onto your subject to prevent the camera from shifting to another feature of the canyon.
- Avoid digital zoom. Instead, move closer to the structure you wish to capture.
- Check the exposure levels manually to see if you can find a good balance of brightness and darkness.
- Use an editing app like Lightroom Mobile or Snapseed to help bring out the canyon’s natural colors with just a few clicks.
6 Tips for DSLR & Mirrorless Cameras
A DSLR, or digital single-lens reflex, camera is what most people think of as a traditional camera. These are professional-level cameras that do a great job of combining optics and manual controls in a single-lens system.
If you have one and plan on bringing it on your Lower Antelope Canyon tour, here are some tips:
- ISO: Keep it low (100–400) to reduce noise.
- Aperture: A mid-range f-stop (f/8–f/11) will give you sharp images with depth.
- Shutter speed: Handheld shots require speeds faster than 1/60 to avoid blur.
- Lenses: A wide-angle lens (14–24mm) captures the canyon’s narrow corridors in all their glory.
- Polarizer filter: This helps reduce reflections and boost color saturation—perfect for sandstone.
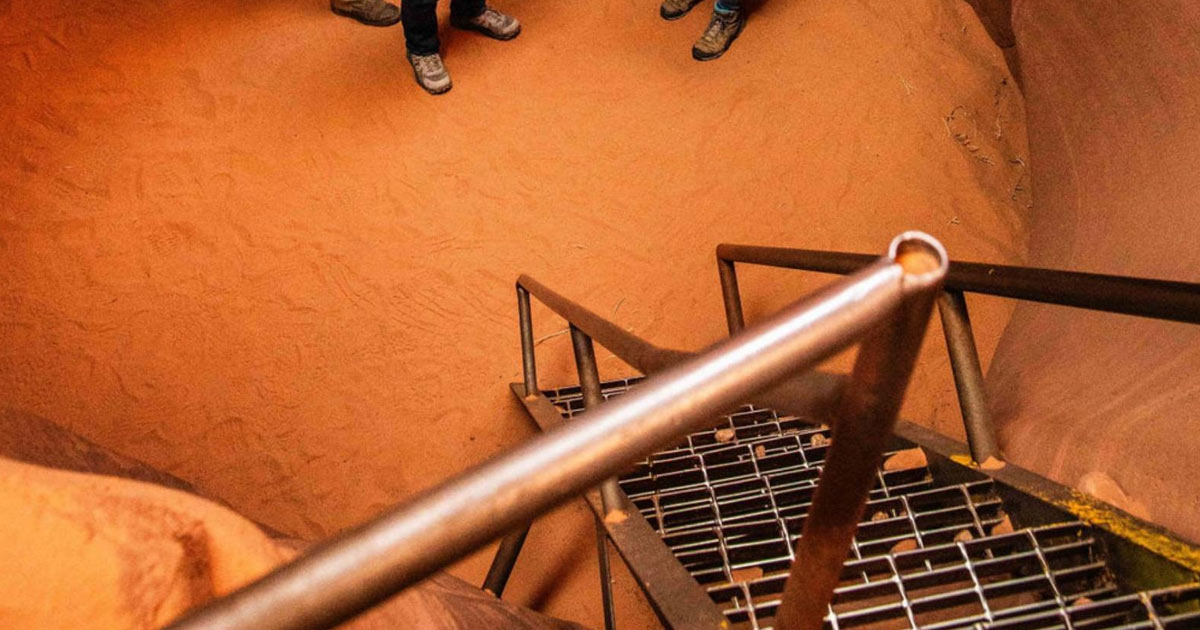
- Note: Tripods are not allowed in the canyon. Ken’s Tours prioritizes visitor safety and the flow of the group, so leave the tripod at home.
3 Frequently Asked Questions About Photographing Lower Antelope Canyon
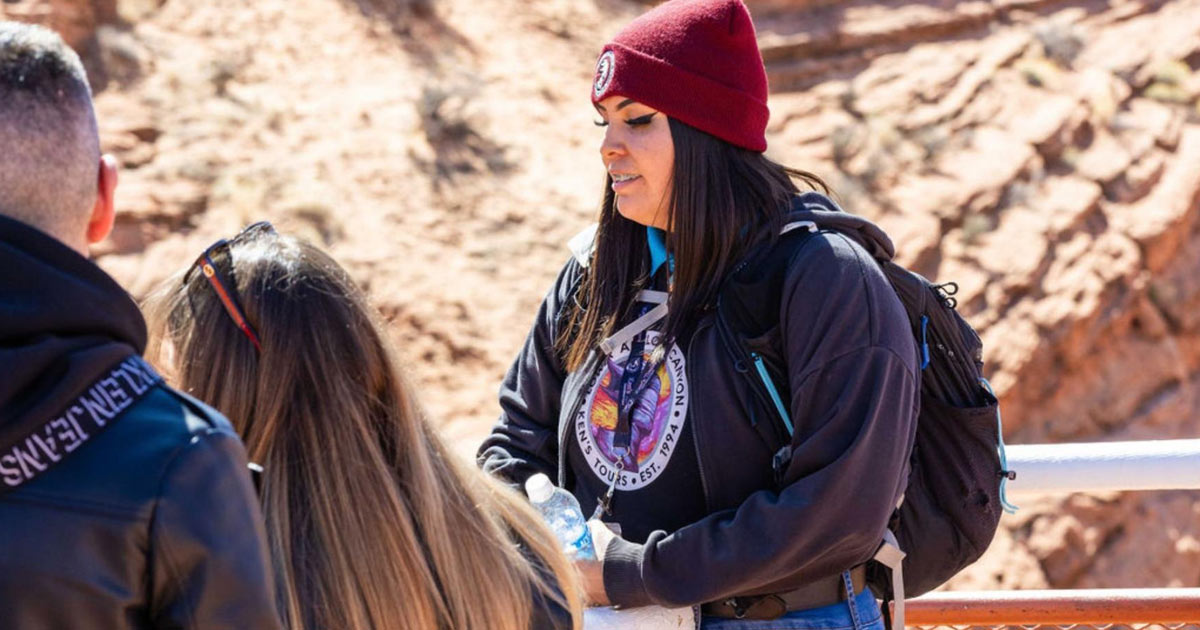
Our guides are experts. Feel free to reach out directly with specific questions that are not addressed in the article.
#1 How Do I Make My Lower Antelope Canyon Photos Pop?
Post-processing goes a long way. Look at adjusting brightness, contrast, and vibrancy to get a natural, aesthetic look to your pictures. You can also try increasing saturation, as this can make the canyon’s natural hues more prominent.
If your software has preset filters, test them out. You may find one that achieves exactly what you want without having to manually adjust each pic.
#2 What Should I Know About My Surroundings When Photographing Lower Antelope Canyon?
The region is a sacred place to the Navajo Nation and should be respected as such. Remember to stay on the path, follow your guide’s instructions, and be courteous to others on the tour.
Safety is of the utmost concern for Ken’s Tours, and we ask that you don’t climb onto the stairs or other unsafe spots to get the “perfect” picture.
#3 How Do I Know the Best Angles to Shoot Lower Antelope Canyon At?
If you are unsure of how to get the most out of your Lower Antelope Canyon photos, ask your guide. They have a wealth of knowledge that includes how and when to take the best-looking pictures.
Ready to Tour Lower Antelope Canyon & Take Some Amazing Photos?
To photograph Lower Antelope Canyon like a pro, focus on using natural leading lines, experimenting with angles, and applying framing techniques to create visually engaging shots. Whether using a smartphone or DSLR, try using gridlines, managing exposure, and choosing wide-angle lenses or polarizers.
While on your tour, remember to show your respect for the canyon and Navajo Nation. Also keep in mind that guides are available to help with finding the best angles and answering general photography questions.
Are you ready to book your tour and test your photography skills? If so, we have tours of Lower Antelope Canyon taking place year-round. Click here to explore our General Tours, Deluxe Tours, and Combination Packages and to see how much it costs to book a tour of Lower Antelope Canyon.